Raspberry Pi 4B
Warning
The board support for this device is experimental. Not all features are implemented and they have not been extensively tested by many users.
Help is wanted if you are interested in supporting a feature or if you’ve found an issue with any of the implementation! See the contributing guidelines.
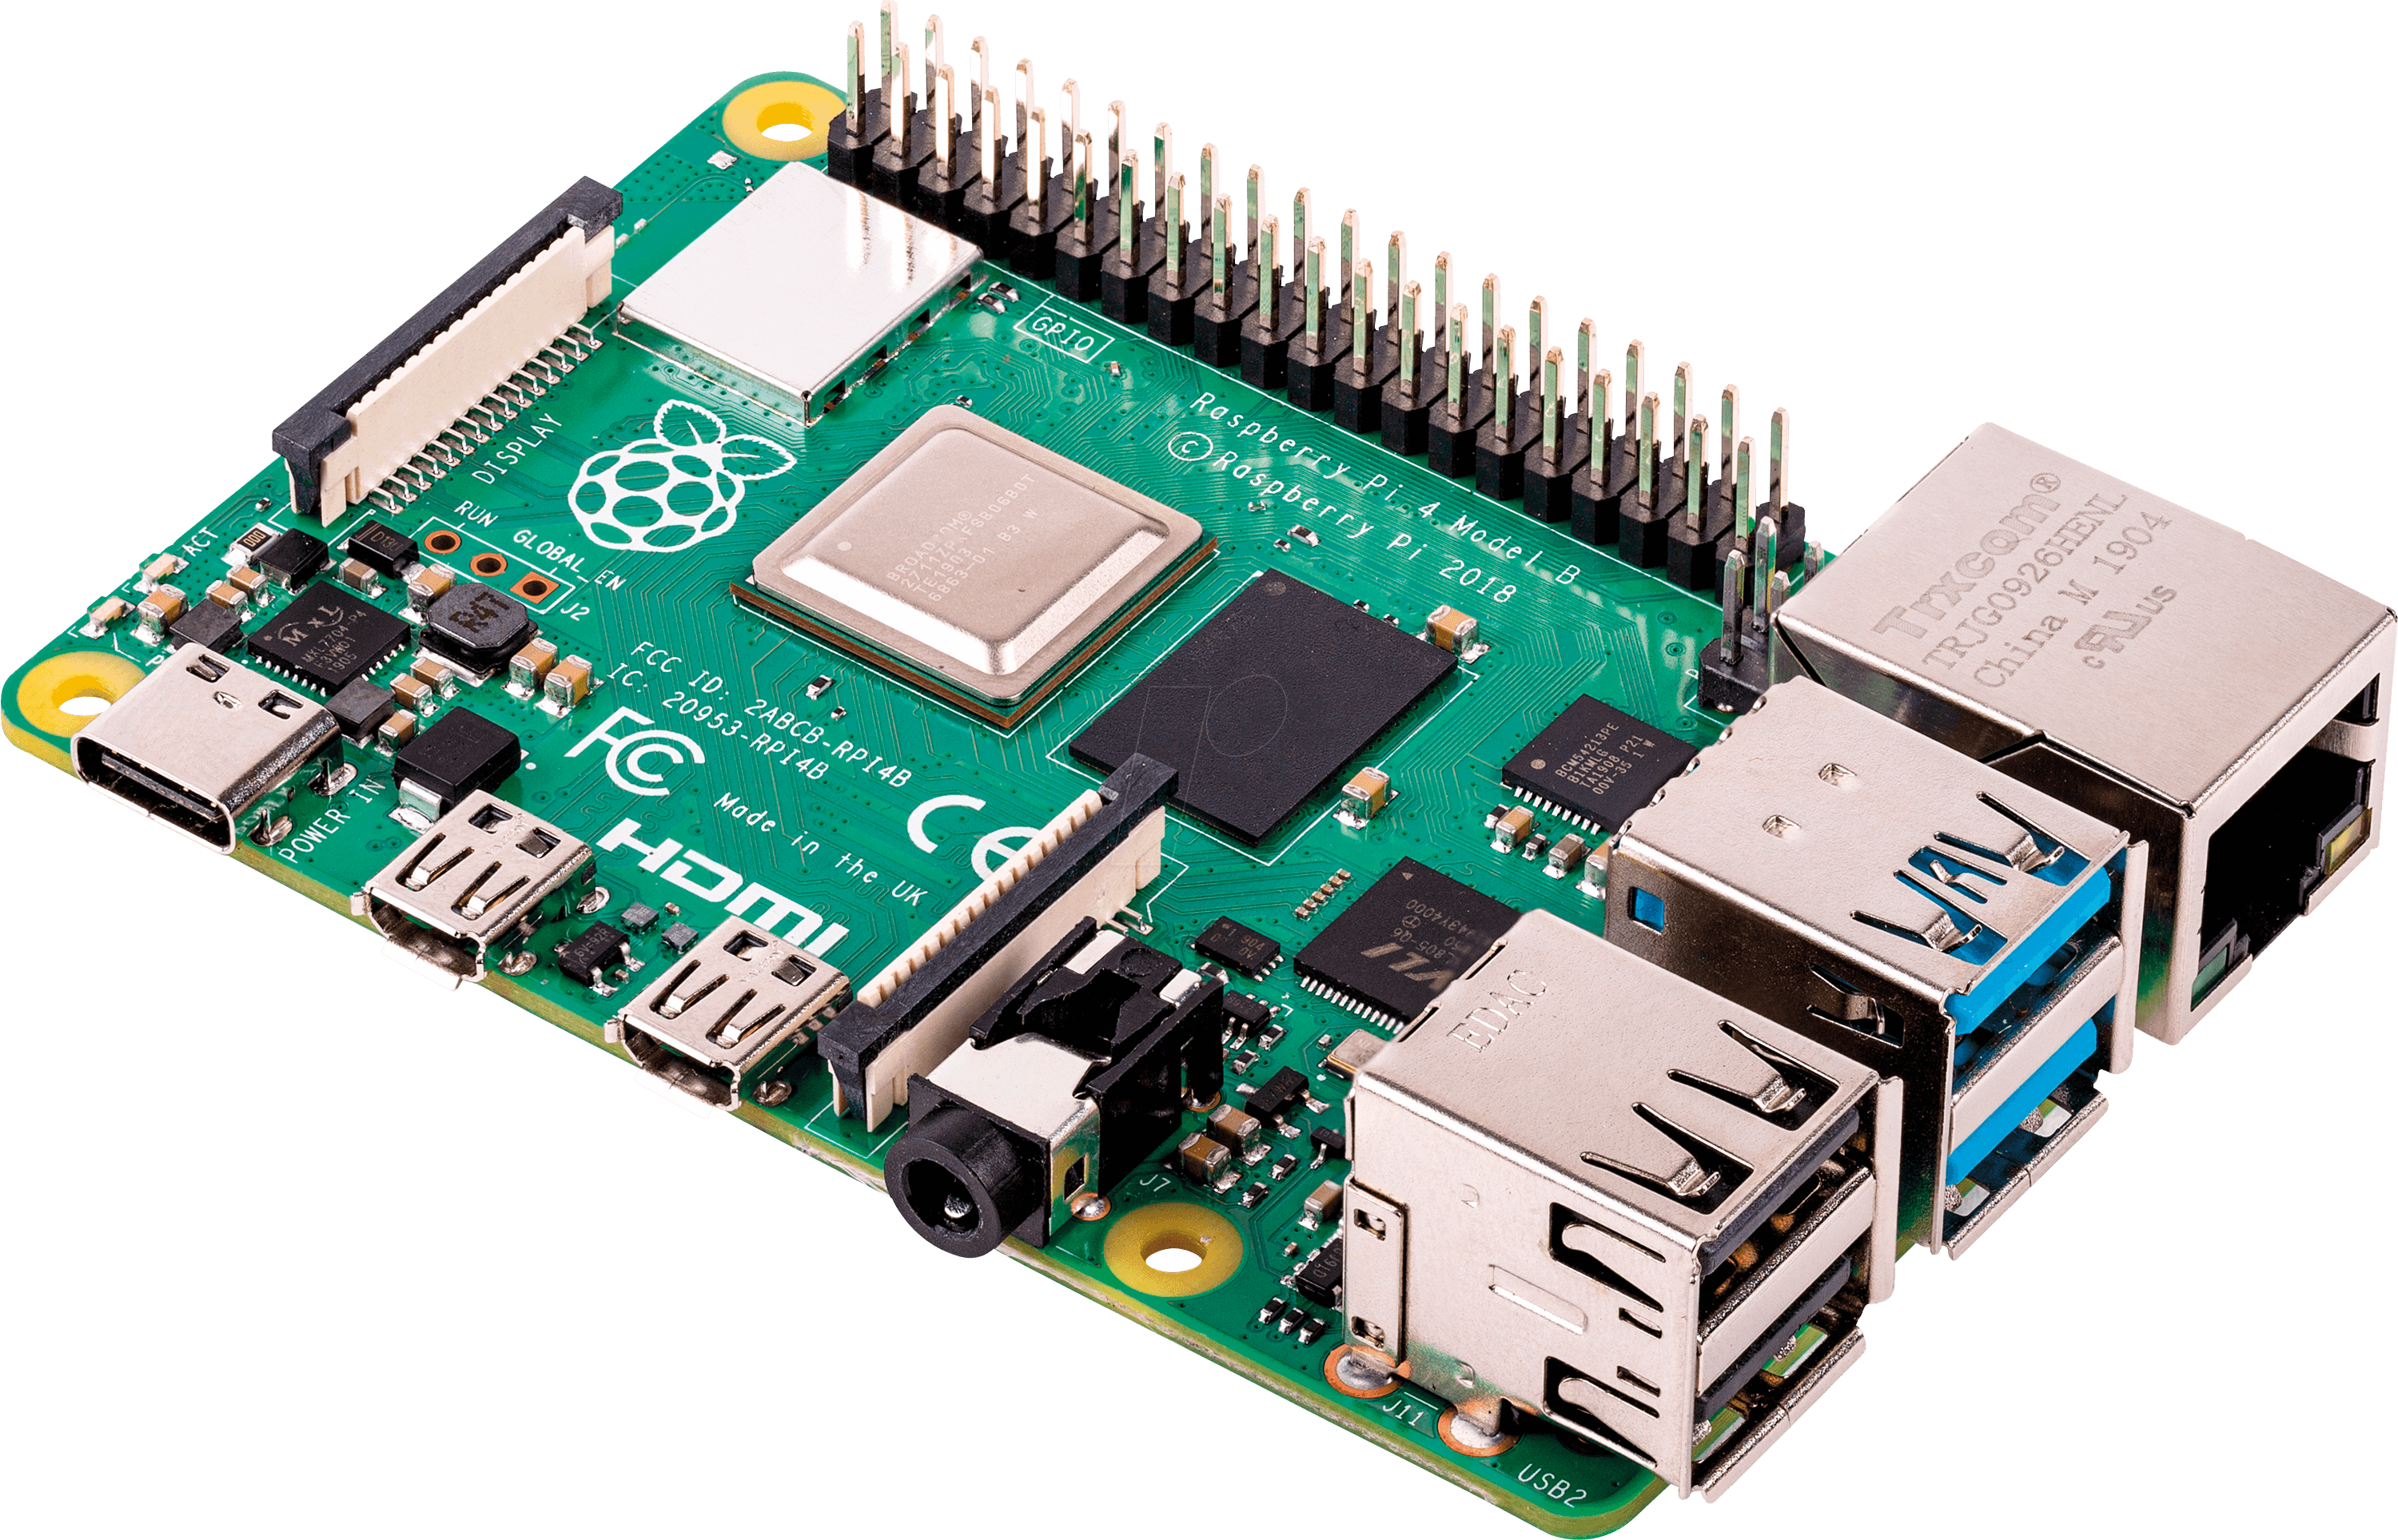
The Raspberry Pi 4B is an ARM64 hobbyist board created by Raspberry Pi.
Features
Broadcom BCM2711 @1.8GHz
1, 2, 4 and 8GB LPDDR4-3200 SDRAM models
2.4GHz and 5.0GHz IEEE 802.11ac wireless
Bluetooth 5.0
Gigabit Ethernet
2 USB 3.0 ports
2 USB 2.0 ports
2 micro-HDMI ports (4kp60)
2-lane MIPI DSI display port
2-lane MIPI CSI camera port
4-pole stereo audio and composite video port
Micro SD card slot
Board Peripheral Support
SMP is currently unsupported. To see support for chip peripherals (I2C, SPI, UART, etc), see the BCM2711 page
NuttX for the Raspberry Pi 4 supports these on-board peripherals:
Peripheral |
Support |
|---|---|
AV port |
No |
HDMI |
Yes, frame buffer support |
WiFi |
No |
Ethernet |
No |
USB 3.0 |
No |
USB 2.0 |
No |
Bluetooth |
No |
microSD card |
Yes (see notes in BCM2711 page) |
Note
The HDMI support has been tested using the frame buffer driver for graphics on both HDMI0 and HDMI1. They have not been tested both at the same. They have also only been tested with a single display monitor.
The current frame-buffer driver is also not very performant; it is basically CPU rendering pixel-by-pixel. This could be improved with DMA or GPU access, but that is yet to be done.
Power Supply
The board can be supplied power either through the USB-C connection (5V) or via the 5V power input pin.
Installation
Before building NuttX for the Raspberry Pi 4B, download the ARM64 Toolchain for
AArch64 Bare-Metal Target aarch64-none-elf from
Arm GNU Toolchain Downloads.
(Skip the section for Beta Releases.)
Add the downloaded toolchain gcc-arm-...-aarch64-none-elf/bin to the PATH Environment Variable.
If you are running Arch Linux, you can also get the toolchain by installing from the AUR:
$ yay -S aarch64-none-elf-gcc-bin aarch64-none-elf-toolchain
Check the ARM64 Toolchain:
$ aarch64-none-elf-gcc -v
Flashing
In order to boot NuttX on the Raspberry Pi 4B, you will need to have a formatted micro SD card. The SD card should
contain a FAT32 partition that is marked as bootable and which contains the generated nuttx.bin and config.txt
files from the build process. In addition to those files, you will also need the following files from the Raspberry Pi
repository for loading the image:
You can download all of these files with the shell script in tools/bcm2711/bootfiles.sh.
SD Card Formatting
Here is a list of fdisk commands for formatting the SD card on Linux. The tutorial assumes the SD card is at
/dev/sda, but you can find the location of your SD card with lsblk. Make very sure you verify that the name is
correct, or you can lose data by formatting a different device.
$ sudo fdisk /dev/sda
Print the partition table on the card with p to see what’s there. If anything appears, continue to use the d
command to remove all partitions.
oto create a new, empty DOS partition tablento create a new partitionpto make it primaryHit enter to select the default partition of “1”
Hit enter for the default start and end sizes, which will use the full SD card size
tto change the type of the partition (hit enter to select default of partition 1)cas the type, which is for Windows FAT32ato mark the partition as bootablewto write all the changes and save
Now when you run lsblk, you should see /dev/sda1 (or an equivalent for your SD card). That is the new partition
just created. Running the following command will then format the SD card to an empty FAT32 file system.
$ sudo mkfs.vfat /dev/sda1
Once this completes, you can copy all of the aforementioned boot files, nuttx.bin and config.txt to your SD card
in your preferred way (through a file explorer or by using mount).
Once all the files are copied, you can then eject the SD card and insert it onto your Raspberry Pi. The default console is the Mini UART, which requires an adapter such as USB to TTL serial converter cable to read. You should connect the ground to one of the Pi’s ground pins, and then connect the RX to GPIO 14 and TX to GPIO 15. Do not connect the red power wire.
Once the converter is connected and plugged into your host computer, you can open up a serial terminal of your choice. I use Minicom. Then, power your Raspberry Pi 4B with a USB-C cable and wait for the Pi to boot and the NSH prompt to appear onscreen:
NuttShell (NSH) NuttX-12.6.0-RC0
nsh> uname -a
NuttX 12.6.0-RC0 c4f3a42131-dirty Aug  6 2024 21:17:01 arm64 raspberrypi-4b
nsh>
Configurations
You can configure NuttX for the Raspberry Pi 4B using the following command:
$ ./tools/configure.sh raspberrypi-4b:<config>
Where <config> is one of the configurations listed below.
nsh
A simple configuration with NSH on the Mini-UART console, accessible using a TTL cable connected to GPIO 14 & 15.
nxinit
This configuration has the same features as the sd configuration, but uses
the NXInit init system instead of NSH
directly. The init.rc init script is pulled from the SD card. It is
recommended to use the following script:
on boot
    start console
service console nsh
    class core
    restart_period 1000
coremark
This configuration boots directly into the coremark benchmark and displays the results of the test over the serial console.
i2c1
This configuration enables the I2C1 bus on GPIO 2 and 3 (the standard I2C bus for the Raspberry Pi 4B). It includes the i2ctool application for playing with the bus. Note that you will want to pass the -b 1 flag to the tool the first time you use it, as the default bus is 0.
bmp280
This configuration is the same as the I2C1 configuration, but it registers the
BMP280 device driver on I2C1. You can use the bmp280 example program or the uorb_listener
program to interact with the sensor.
ostest
This configuration boots directly into ostest and displays the results of the test over the serial console. The test runs 5 times.
sd
Configuration which supports the microSD card peripheral on EMMC2. At boot time,
the microSD card is identified and the boot partition is mounted as a FAT file
system to /sd. It can be written to and read from.
Warning
There is some instability with the microSD card functionality. Please see BCM2711 for more information.
Note
This configuration enables BSD components since the sdstress application is BSD licensed.
fb
Configuration with graphics support in the form of a frame buffer driver for the two HDMI outputs. This configuration is equipped with the fb example, which displays some centered, colourful rectangles on the screen.
Warning
This has only been tested with a display plugged into one HDMI interface at a
time, not both connected. Whichever HDMI interface is plugged in will be
referred to as display 0 (i.e. /dev/fb0).
The display must be plugged in to the Raspberry Pi 4B and powered on at
boot time. The BCM2711 VideoCore will refuse to allocate a frame buffer if
not, and registering /dev/fb0 will fail.
The rendered image may exhibit gaps in the pixels. This is because rendering
directly to the framebuffer is too slow compared to the HDMI output in some
cases. If the image is rendered to a RAM buffer of the same size and then
memcpy’d to the frame buffer, the image will be clear. I have not
modified the frame buffer example though since this is its own limitation.
Note
The frame buffer driver currently uses the resolution obtained by querying
the physical display. It is also possible to use
CONFIG_BCM2711_FB_FORCE_RESOLUTION=y to force the request of your
configured default resolution instead.
nxdoom
This configuration combines features from the sd and fb configurations,
and includes the NuttX port of DOOM, NXDoom.
Place the WAD file you wish to play on the SD card partition with the NuttX
kernel and other files. You can then play via
nsh> nxdoom -iwad /sd/doom1.wad
Warning
There are currently no input devices on the Raspberry Pi 4B which make DOOM playable, so you can only stare at the menu for now. Patches welcome!
The Pi’s framebuffer rendering causes some small artifacts in the player window. This would need DMA-based rendering or double-buffered rendering to improve most likely. Patches also welcome!
lvgl
This configuration boots into an LVGL demonstration (lvgldemo LVGL Demo). It is using the ‘widgets’ variant of the demo. There is currently no way to interact with it since input devices aren’t supported, but it’s pretty! This configuration does nothing else, but could be modified to boot into your own LVGL application.
This configuration has the same warnings and limitations as those in the fb
configuration, with the exception of the pixel gaps. This is because LVGL uses
the dual-buffer approach to rendering.
baromonitor
This configuration includes LVGL graphics over the HDMI frame buffer interface,
and includes the baromonitor
example. It also includes the features from the bmp280 configuration so that
the baromonitor example can display values read from the connected BMP280
barometer.
cgol
This configuration includes the Conway’s Game of Life game
application. It renders a Game of Life simulation to the HDMI video output.
Since this configuration also enables the frame buffer, it comes with the same
limitations as those in fb. However, the cgol application is double
buffered, so it will not experience any rendering artifacts.
smp
This configuration leverages all four A72 cores of the BCM2711. It comes with the standard NSH shell, getprime benchmark, ostest OS test, and smp SMP example tests.
audio_tone
This configuration enables PWM0 and PWM1 interfaces and provides examples like
pwm General PWM Example for playing with sound. The audio jack
right and left channels are channel 1 and 2 of /dev/pwm1.
Warning
Audio output over the jack is very loud. DO NOT plug in earbuds until first assessing the sound level with them out of your ears.