Arty A7
Todo
There is currently no support for GPIO, SPI, I2C, RTC, WDT or PWM. There is also no support for RISC-V user mode yet. If you are interested in contributing one of these features, please see Contributing.
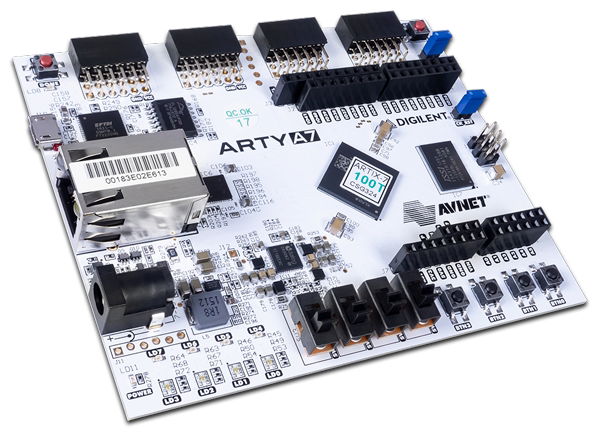
The Arty A7 development board
The Arty A7 is an Artix 7 FPGA development board. There is some external documentation about the board itself (and its datasheets) here.
Features
450MHz internal clock
16MB QSPI flash
10/100Mbps Ethernet
256MB DDR3 @333MHz
JTAG programmable
5200 logic slices
1800Kbits of block RAM
Power Supply
The board can be supplied power over USB, or a 7-15V 2.5mm coaxial supply. The logic level of the A7 is 3V3.
Installation
You will need to download the tool-chain for this board:
$ curl https://static.dev.sifive.com/dev-tools/riscv64-unknown-elf-gcc-8.3.0-2019.08.0-x86_64-linux-ubuntu14.tar.gz
vexriscv
This section is for the vexriscv softcore fpga gateware.
Flashing
Follow the instructions on https://github.com/enjoy-digital/litex to build the vexriscv and flash to Arty A7 board:
$ cd litex-boards/litex_boards/targets
$ ./digilent_arty.py --with-ethernet --with-sdcard --uart-baudrate 1000000 --cpu-type=vexriscv --cpu-variant=linux --build --load --flash
Next, set up a TFTP server on your host machine, copy
nuttx.binto yourtftpbootdirectory and change its name toboot.bin.Setup the wired connection (UART and TFTP) between your A7 board and host machine.
Run the following command:
$ minicom -b 1000000 /dev/ttyUSB1 # The default baudrate on litex vexriscv is 1e6
When you see the bios prompt
litex>, typenetbootand press “Enter”. You should then see the NSH prompt.
Configurations
You can configure NuttX for this board using:
$ ./tools/configure.sh arty_a7:<config>
Where <config> is the name of one of the configurations listed below.
nsh
A simple configuration with the NSH shell.
VexRISCV_SMP
This section is for the VexRISCV_SMP softcore fpga gateware.
For VexRISCV_SMP cores on an Arty A7, you can follow the instructions on https://github.com/enjoy-digital/litex to build the vexriscv_smp softcore fpga gateware:
$ cd litex-boards/litex_boards/targets
$ ./digilent_arty.py --with-ethernet --with-sdcard --uart-baudrate 1000000 --cpu-type=vexriscv_smp --cpu-variant=linux --with-rvc --cpu-count 8 --build --load --flash
Please consult the VexRISCV_SMP core documentation for more information about setting up a two-pass build.